Waxing Basics and Tips
Welcome to the Toko Wax Room. Have you ever tried to wax your skis but weren’t sure what to use? Maybe you’re worried about damaging your bases with the wrong iron temperature. I’ve definitely been there. Over time, I’ve picked up a few habits that help me feel confident in the wax room using TOKO waxes and tools.
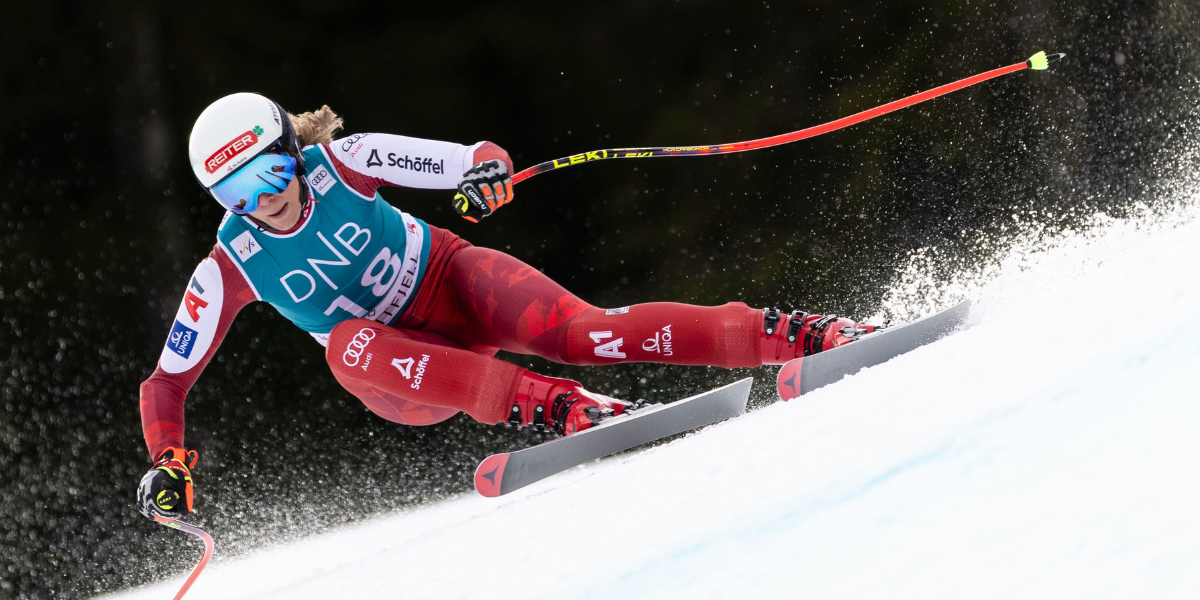
My name is Abishai Corey, and I’m an NCAA athlete at the University of New Hampshire. My season is reaching its peak, and before long, the sun will be out and conditions will change quickly. In New England, weather is rarely consistent. Because of that, I stay on top of waxing—and re-waxing—based on temperature shifts. Having the right TOKO wax products makes that process much easier.
Matching TOKO Wax Colors to Snow Temperature
Waxing can be confusing at first because of the different colors and styles available. Whether you use a TOKO wax bar, TOKO spray-on wax, or TOKO powder wax, each color matches a specific snow-temperature range.
The three main colors I use are blue, red and yellow. TOKO blue wax is best for the coldest days of the season. It works when snow temperatures range from about 14°F down to –22°F. To dial things in, I often use a TOKO snow thermometer to measure snow temperature directly.
As conditions warm up, I switch to TOKO red wax. I use red when snow temperatures fall between roughly 10°F and 25°F. When spring arrives, TOKO yellow wax becomes my go-to. It’s a warm-temperature wax designed for snow temperatures from about 21°F to 32°F.
Sometimes, snow temperatures sit between two ranges. In those cases, I mix waxes. During January, I often combine TOKO red and TOKO blue wax to create a purple-style blend. Mixing wax is simple. I drip one wax onto the base with a TOKO waxing iron, then add the second wax. As I iron, the waxes naturally blend together.
Choosing the Right Form of TOKO Wax
Another common question is which form of wax to use. I regularly use three types: TOKO bar wax, TOKO powder wax, and TOKO spray-on liquid wax.
For most training and racing on dry snow, I rely on bar wax. I check the forecast, choose the correct TOKO wax color, and iron it on. Applying bar wax only requires an iron, and I strongly recommend owning your own TOKO waxing iron. It makes waxing at home and while traveling much easier. It also saves time when team irons are unavailable.
If you’re worried about iron temperature, TOKO makes that simple. Every wax lists the recommended temperature on the container. When I’m unsure, I double-check before heating the iron.
Layering TOKO Waxes for Wet Snow
Powder and liquid waxes come into play when conditions turn wet. TOKO powder waxes are applied with an iron, and their recommended temperatures are listed clearly on the packaging.
When wet snow is in the forecast, I start with TOKO powder wax as a base layer. I tap it onto the ski, iron it in with a TOKO iron, let it cool, then scrape and brush. After that, I apply a thin layer of TOKO liquid spray wax on top and let it dry.
The longer wax stays on the bases, the better the result. If time is tight, I wait until the liquid layer is fully dry before scraping. When powder wax isn’t available, I substitute TOKO block wax and follow the same steps before adding the liquid layer.
Layering TOKO waxes builds a thicker hydrophobic surface. That extra protection helps skis glide better on wet snow. Better glide means more speed. No matter the form, TOKO waxes perform when applied correctly. Apply, brush and ski.